Making pumpkin puree at home doesn’t have to be complicated. In fact, it’s easier than you might think. Preheat your oven, gut your pumpkins, and get ready to cozy up to fall with these minimal waste pumpkin practices…
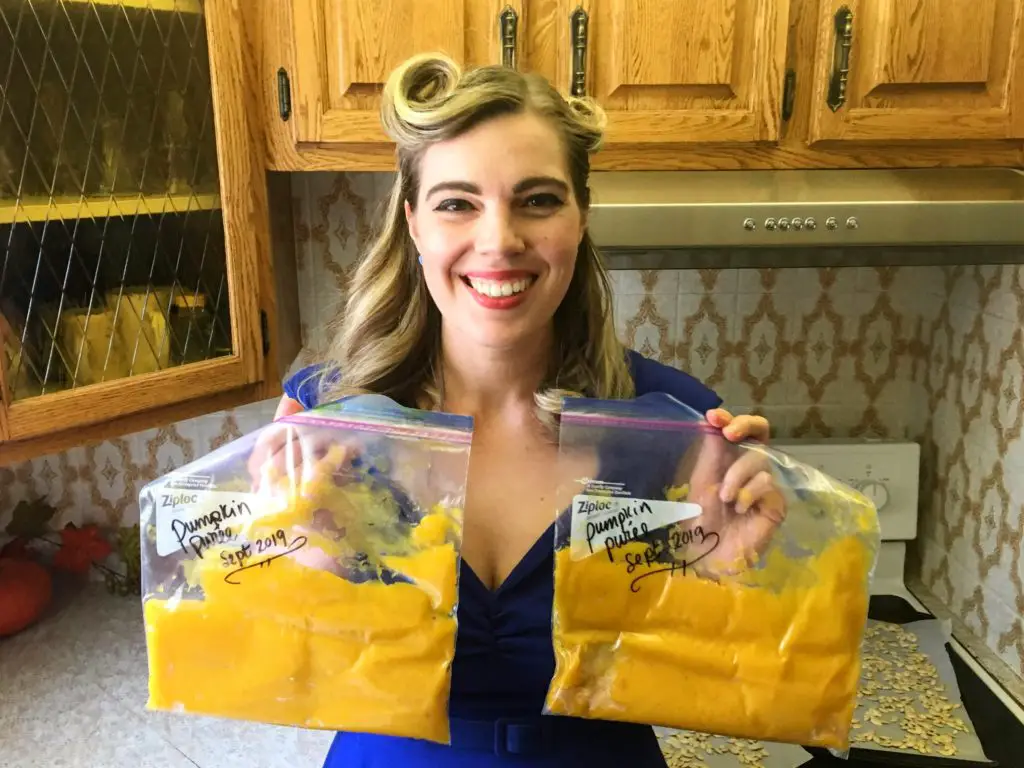
Making pumpkin puree is one of my favourite ways to ring in autumn.
The days are cooler. Green leaves adopt the colours of fire before falling to cold concrete sidewalks and pavement, blanketing lawns with a cozy comforter for the winter season.
The nights are cold and I can see my breath in the brisk morning air, my car windows weeping with condensation.
I don’t dare go outside without a jacket anymore.
My yearnings for gallons of old-fashioned lemonade and ice cream sandwiches are now cravings for tea, spicy baked goods, and everything pumpkin.
RELATED: The Best Maple Bourbon Pumpkin Pie
This article may contain affiliate links, meaning that if you choose to purchase something after clicking on one of the links in this post, I may earn a small commission at no additional cost to you.
MAKING PUMPKIN PUREE FROM SCRATCH
Making pumpkin puree is a quintessential fall activity. I do it every year and find it deeply rewarding whenever I open up the freezer to pull out a Ziplock bag of homemade puree.
I love making pasta with a creamy pumpkin sauce, soups, curries and baked goods.
And pumpkin waffles or pancakes for breakfast with cinnamon butter and maple syrup? So good.
Before we get started making all these beautiful pumpkin-based dishes though, we need to start by making pumpkin puree.
Sure, you can buy the canned stuff, but taking matters into your own hands and making pumpkin puree yourself is not only easy, but it is economical when pumpkins are in season.
Moreover, it freezes well, and, if you happen to grow your own pumpkins, you’ll know exactly what goes into the final product. That being said, if you have a small pumpkin patch, you probably already know how to make your own puree!
RELATED: Old-Fashioned Autumn Bucket List Ideas
WASTE NOT, WANT NOT
Making pumpkin puree generates some interesting byproducts.
If you’ve been following me for a while (if not, welcome!), you know that I like using every part of the buffalo.
I try to find a use for everything and minimize waste where I can, but believe it or not, this wasn’t always the case. I was often guilty of gutting pumpkins and discarding the pulp and the seeds, thinking it was an ooey, gooey, mess.
Carving pumpkins for Halloween often resulted in garbage or compost bins full of seedy orange globs.
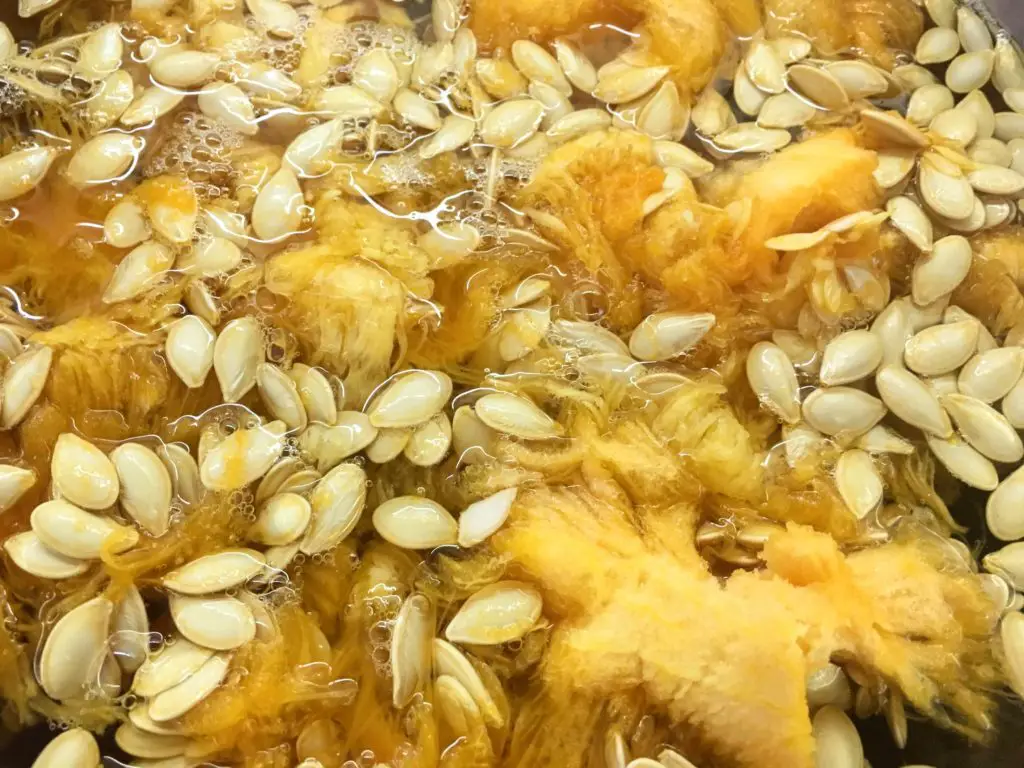
I have since mended my ways, and as you will read, making pumpkin puree also means you can make yourself some snacks, and that you can add big pumpkin flavour to your soups or stews!
All of this can get used...WHAT KIND OF PUMPKINS SHOULD I USE FOR PUMPKIN PUREE?
While the insides of your jack’o lantern pumpkins can be put to use, I don’t recommend making them your first choice for puree. In fact, I don’t recommend them at all!
Those massive pumpkins are great for carving and lighting the night, but the flesh is stringier and more watery, so you won’t get the rich pumpkin flavour you want.
Instead, opt for the smaller sugar pumpkins (you might know them as pie pumpkins).
Once you get the basics of making pumpkin puree, you can apply the same technique to squash.
HOW MUCH PUMPKIN PUREE DO YOU WANT?
This is the general formula for pumpkin yield:
A five pound pumpkin = 4 to 4 1/2 cupsA four pound pumpkin = 3 to 3 1/2 cupsA three pound pumpkin = 2 to 2 1/2 cups
In full transparency, I don’t usually go based on weights.
I normally bring home anywhere from three to six pumpkins and puree away. It really depends on the price of pumpkins and what my plans are for the puree.
Of course, the more pumpkins you buy for this purpose (or harvest), the more pulp and seeds you’ll have on your hands!
WHAT DO I NEED FOR MAKING PUMPKIN PUREE?
Pumpkins
Vegetable brush (or something to give the pumpkins a good scrubbing)
Knife
Big metal spoon
Parchment paper or Silpats(did you know parchment paper is compostable?)
Ziploc freezer bags or freezer containers (I reuse both, but you’ll get a longer life from the containers)
STEPS FOR MAKING PUMPKIN PUREE
Preheat the oven to 375º and give those little orange gourds a good scrub (I did it off-camera in the video below).
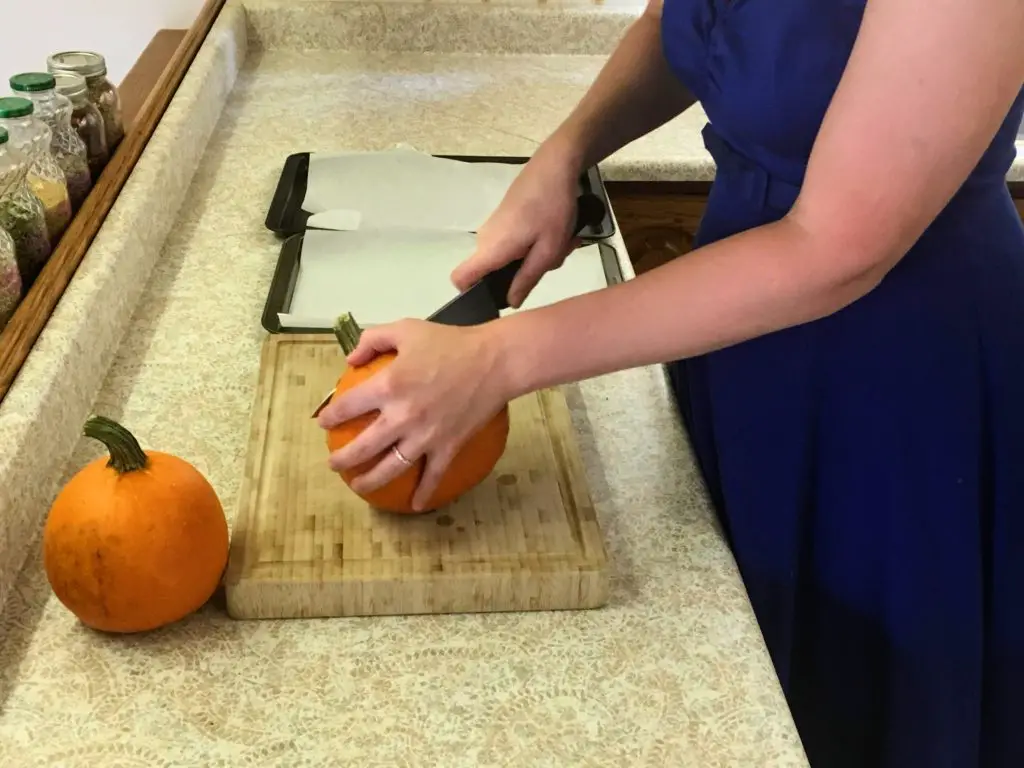
Once your pumpkins are cleaned, with a heavy kitchen knife, cut the tops off and split the pumpkins in half. Then, with a big spoon, scoop out as much of the seedy pulp as you can, reserving it in a bowl.
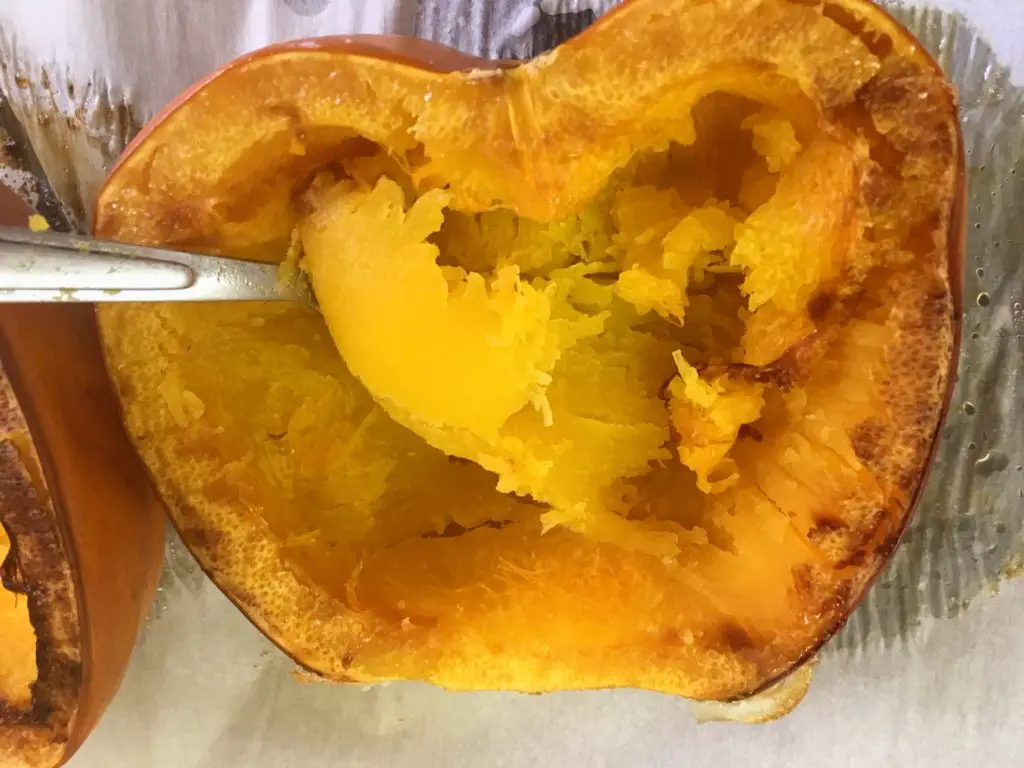
Rinse the pumpkin halves and place them cut side down on your baking sheets. Then, transfer the baking sheets to the hot oven and let the pumpkins cook for 45 minutes, or until tender.
You can check your pumpkins’ doneness with a paring knife; if it pierces through without much resistance, they’re done!
Now that your pumpkin halves are out of the oven, let them cool. Once they’ve cooled enough for you to comfortably handle them, it’s time to make your pumpkin puree!
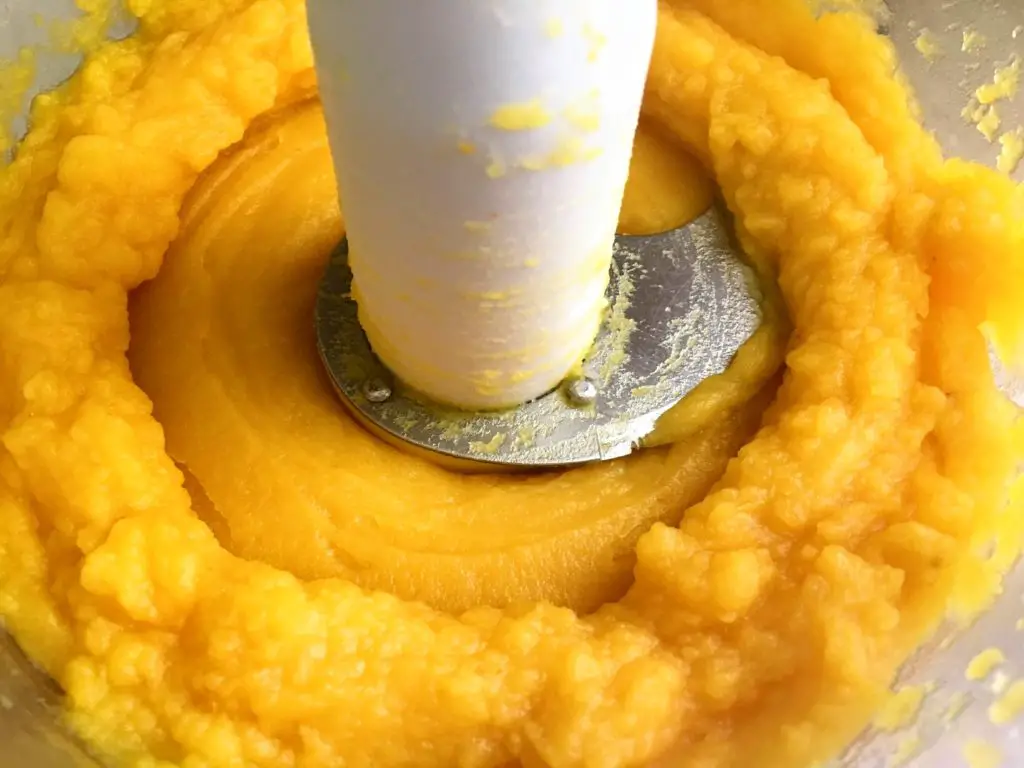
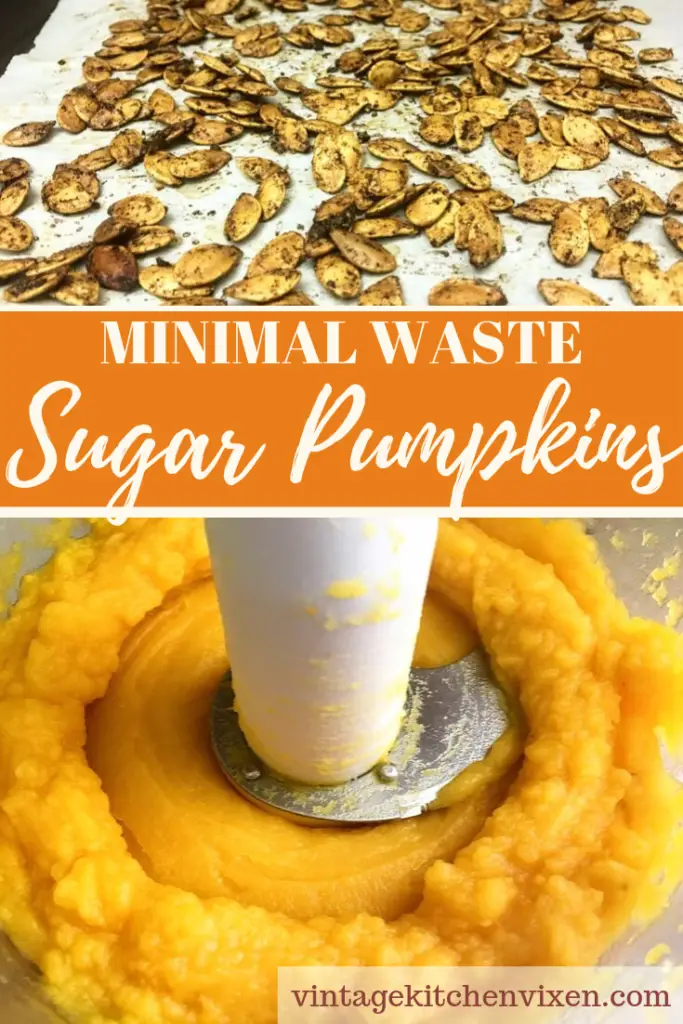
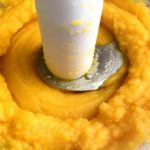
Using your big spoon from earlier, scoop the cooked pumpkin flesh out of its skin and pop it into a food processor. Finally, blend and puree your cooked pumpkin!
If you want a thicker puree, strain it overnight, lining a fine sieve with cheesecloth. Then, if you don’t have immediate plans for your pumpkin, simply pour the puree into a freezer-safe container.
WHAT SHOULD I DO WITH THE PUMPKIN SEEDS AND PULP?
While your pumpkin is roasting in the oven, you can prepare its innards (the seeds and pulp).
Fill the bowl of pulp and seeds with water as this will make it easier to separate the seeds from the pulp. Then, squeeze the seeds out of the pulp and into the water, reserving the pulp in another bowl. Continue until all your seeds are separated from the pulp.
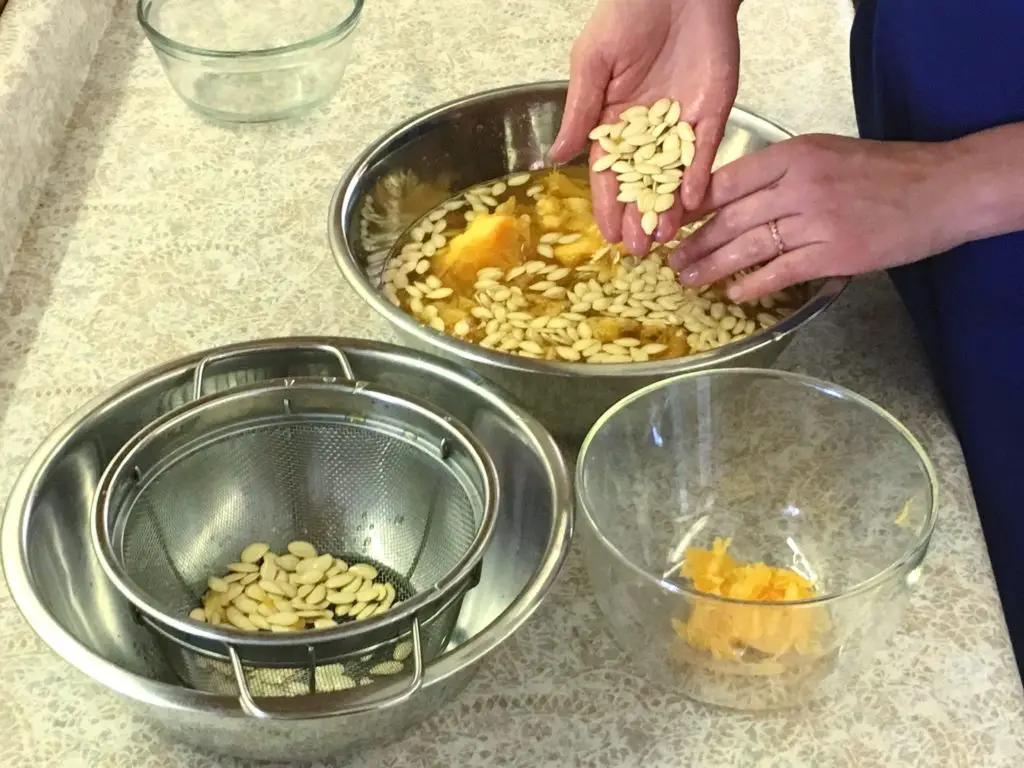
Next, drain the seeds, but don’t throw out the water! Hold onto it and make a stock with it if you can.
If you’ve been following me for a while, you might have a freezer bag full of kitchen scraps waiting patiently for your next batch of broth. Pumpkin puree day is as good a day as any to make good veggie stock from scraps!
Rinse the seeds after draining, and spread them in a single layer on a baking sheet lined with parchment paper. Dry the seeds overnight.
Tip: you can put your seed sheets on top of your hot oven to start drying them a bit faster.
Once the seeds are dry the next day, preheat your oven to 300º.
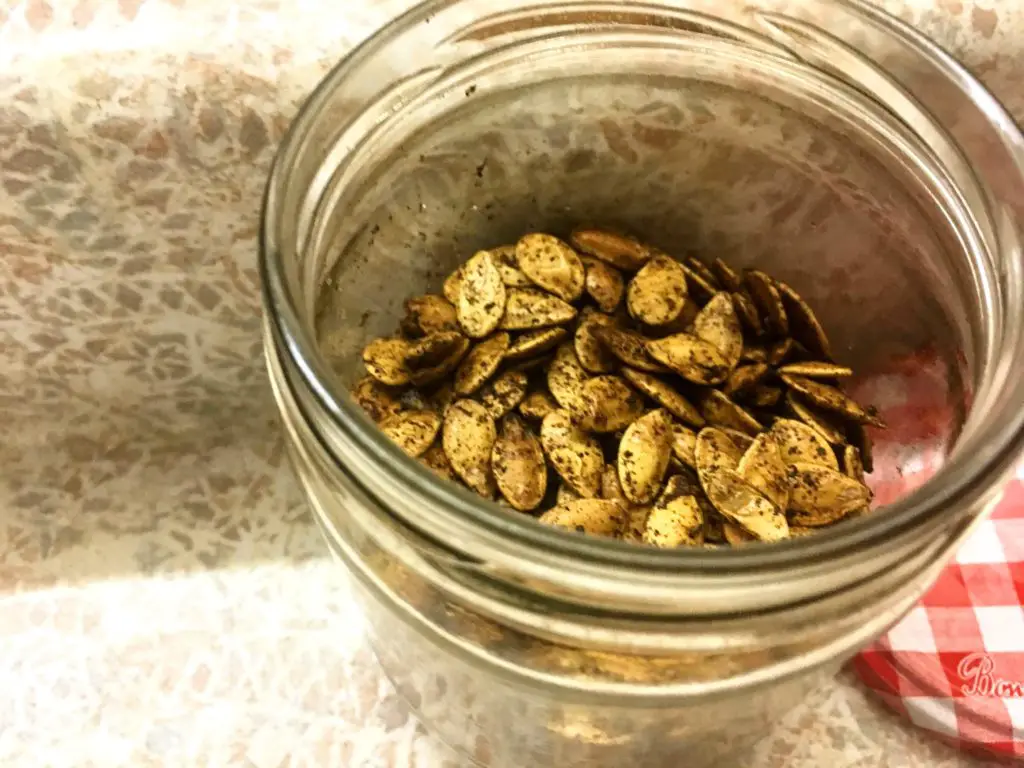
In a mixing bowl, toss the seeds with a couple of tablespoons of oil and your seasonings of choice: salt and pepper, salt and vinegar, lemon pepper, or even cinnamon, cardamom, cloves, and maple syrup… the sky is the limit! Return the seasoned seeds to the lined baking sheets and bake for 25 minutes, or until crunchy.
As for the pumpkin pulp, you can either add it to your stock scraps bag or use it along with an onion, a clove of garlic and the water you’ve reserved to make pumpkin stock!
Fun fact: did you know raw pumpkin seeds are teeming with health benefits? They can even be cold-pressed into an oil that can be used for skin, hair and overall health!
WHAT DO YOU PREFER?
Are you like me and prefer making things yourself in the kitchen, or do you prefer the convenience of something that’s ready-made? If you’re not a stranger to pureeing pumpkins, do you use every part of the pumpkin as I do? More importantly…what’s your favourite thing to make with pumpkin puree?
OTHER FRUGALLY-MINDED POSTS YOU MIGHT LIKE
Broth from Scratch with Scraps
Frugal Kitchen Rules: Waste Less & Save More
PRINTABLE GUIDE TO MAKING PUMPKIN PUREE AND ROASTING SEEDS
Pumpkin Puree and Roasted Seeds
Equipment
- Food Processor
- Baking Sheets
- Parchment Paper
Instructions
- Preheat the oven to 375º and scrub the pumpkin clean
- Cut off the top of the pumpkin and cleave in two
- Scoop out the pulp and seeds into a bowl, scraping the pumpkin clean
- Sprinkle salt on the flesh and place upside down on a baking sheet lined with parchment.
- Roast the pumpkin for 45 minutes, or until it's easily pierced through with a knife. Allow to cool.
- While the pumpkin is roasting, add the pulp and seeds to a bowl of water and separate the seeds.
- Spread the cleaned seeds on a parchment lined baking sheet and allow to dry overnight.
- Once the pumpkin is cool enough to handle, scoop the flesh into a food processor bowl and process until smooth.
PUMPKIN SEEDS
- The next day, drizzle the seeds with your favourite oil and toss in a blend of spices.
- Bake for 25 minutes, or until crispy, in a 300º oven.
- Store in an airtight container.
Video
Notes
- Reserve the water from the pumpkin seed washing to make a homemade broth from scratch.
- Use the de-seeded pumpkin pulp to make broth, or freeze for future use.
- The pumpkin puree should be used within six months of freezing.
Love and gratitude,


Thanks for all the great information! I’ve done this with butternut squash, although I just put the flesh in a plastic bag and squished it up, but have had it in my head that pumpkins are harder to deal with. I’m going to buy some sugar pumpkins and use your method. 🙂
You’re so welcome, Veronica! I like your bag squishing method–there’d be less dishes! If you can handle a squash, you can handle a pumpkin. You’ve got this 🙂