
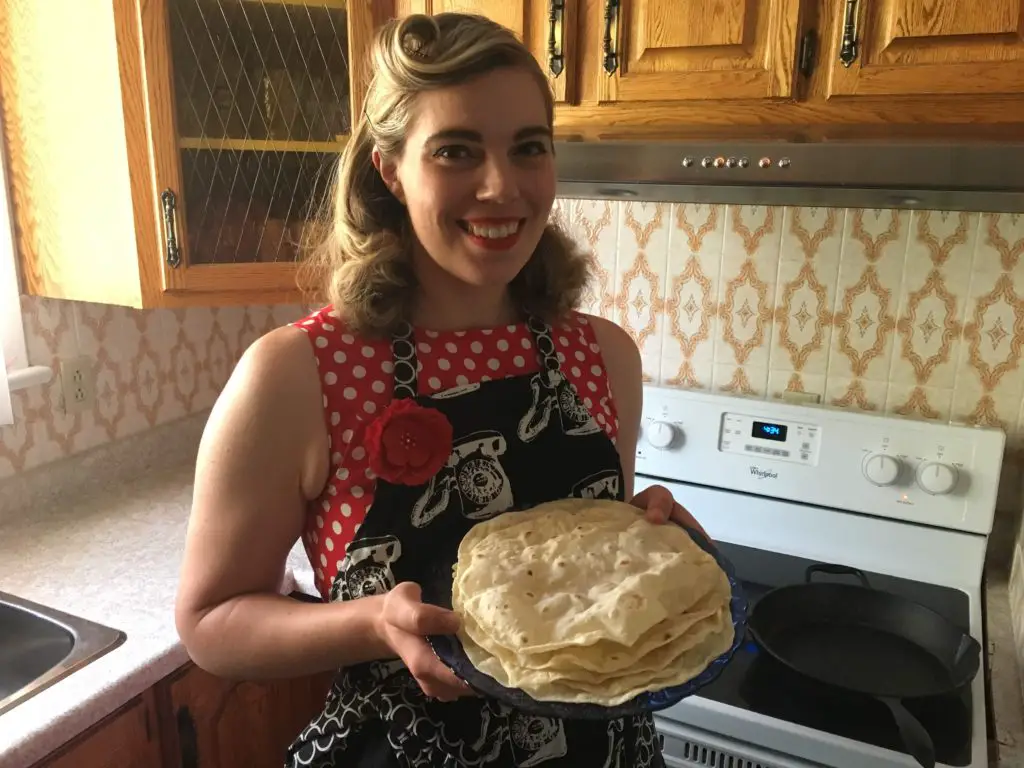
Kefir tortillas are a fun and delicious way to use up an abundance of kefir. Learn how to make this simple cast iron skillet tortilla recipe, but be warned: you won’t want to buy the ones from the store anymore!
MAKING KEFIR FLOUR TORTILLAS FROM SCRATCH
Confession time: I grew up on store bought tortillas. Making tortillas from scratch wasn’t something my parents had time for, so growing up, I never considered that people actually made their own from start to finish.
The first time I ever encountered homemade tortillas was when my husband, Big Papa–my boyfriend at the time–was feeling ambitious for a Superbowl party potluck. His contribution was tequila lime flank steak tacos, but going the extra mile, he made a batch of homemade tortillas. This isn’t a happy tale.
CAST IRON SKILLET KEFIR TORTILLAS RECIPE VIDEO
If this is your first time visiting the Kitchen, you’re about to find out why I call my kitchen vintage… If you like my style, please consider subscribing to the Vintage Kitchen Vixen YouTube channel!
This post may contain affiliate links, which means I make a small commission at no additional cost to you.
THE UNHAPPY TORTILLA TALE
As you are about to learn, once the dough is properly divided and balled up, it needs to rest for a short period of time. This gives the gluten ample time to develop. Gluten development makes the dough easier to manipulate, so you’re able to stretch it out to whatever size you want.
Anyhow, Big Papa didn’t say anything about making tortillas and his dough balls were resting on the counter, the gluten relaxing. This was unfortunate because shortly after, Doe-Eyed Sylvia entered the kitchen. Spotting the rolls, she preheated the oven and lovingly baked them, not bothering to communicate with her boyfriend. This was the wrong move because they made lousy rolls (unlike these crispy kaiser rolls) that went directly into the compost bin. As for Big Papa, he had to start all over again. Lesson learned!
MAKING TORTILLAS FROM SCRATCH IS SATISFYING
Being an advocate of simple living, I find joy in the smallest things, and making tortillas from scratch is one of them. There’s something cozy and hygge-like about taking the time to make flatbread by hand. It’s the same thing with soft naan bread. It’s easy to go out and buy a pack from Costco or the grocery store, but they pale in comparison to what comes out of my trusty cast iron pan.
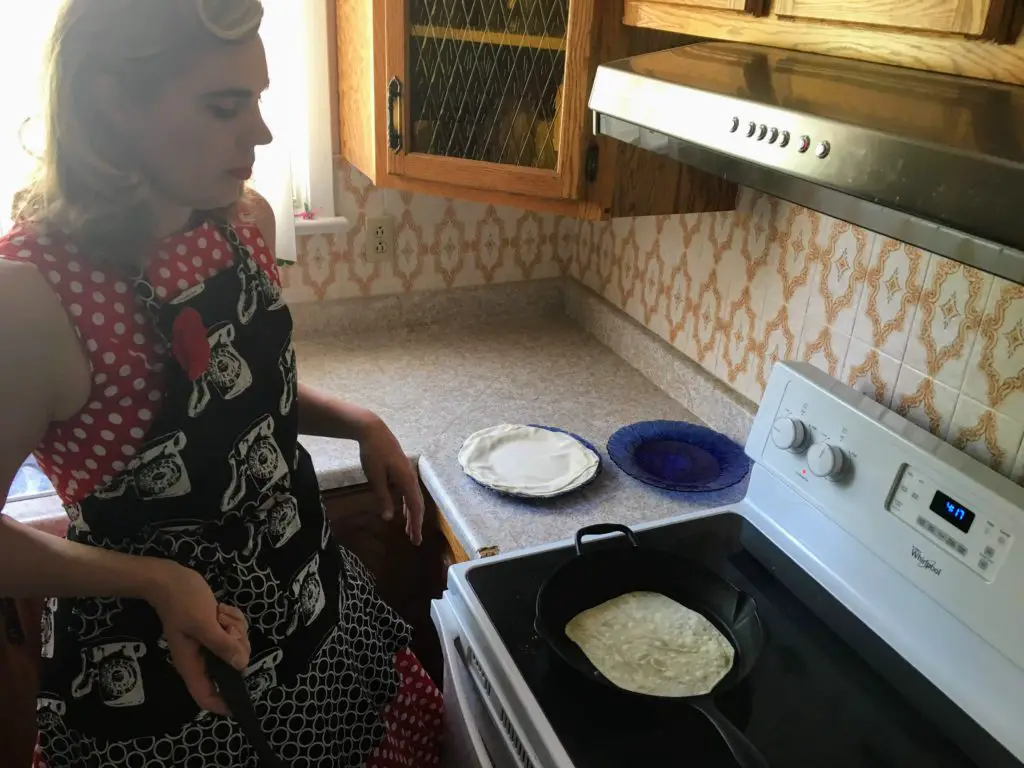
Not only are the ingredients pure, but I prepare them with love. It’s the heart that shines through. I love every step of the process, the kneading, the dividing, and the rolling. My favourite part is watching the tortillas bubble and puff up in my hot skillet.
WHY KEFIR TORTILLAS?
If you’re not new to the Kitchen, then you’ll know all about my obsession with milk kefir. I have a jar in my kitchen cupboard that I feed every couple of days, but I yield more than I use up because I’m not a dutiful milk kefir drinker like my Dad. He’s the one who’s responsible for my love of kefir. A collection of jars of milk kefir can be found in my fridge at any given time, so I am constantly trying to find ways to sneak it into my recipes.
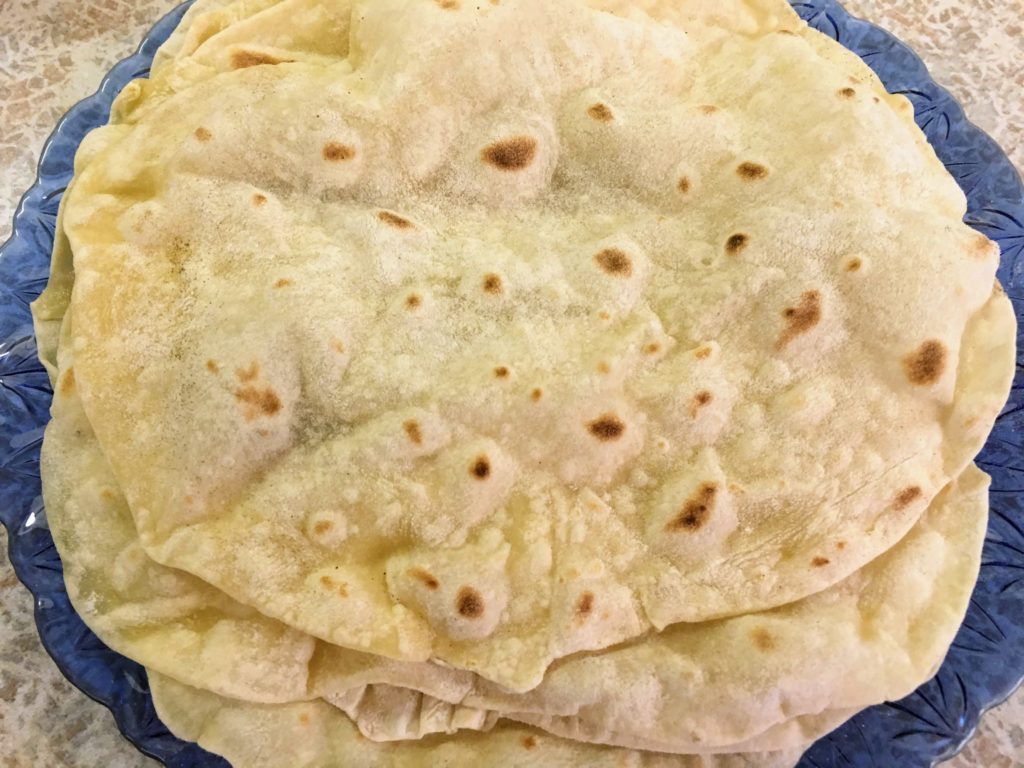
HOW DO KEFIR TORTILLAS TASTE?
Most of my smoothies get the kefir treatment. Like my easy kefir pancakes, cheesy breakfast biscuits, tangy ranch dip, and sesame naan. It was only a matter of time before kefir tortillas became a thing in my kitchen, and guess what? They’re delicious. They give the subtlest tang to the tortillas that’s reminiscent of sourdough.
One day I’ll hop on the sourdough train, but first I need to develop a sourdough starter that respects me. If I can keep a vegetable garden and a kefir culture alive, sourdough shouldn’t be a problem, right?
WHAT CAN I USE KEFIR TORTILLAS FOR?
Kefir tortillas can be used for anything regular tortillas are used for. Make them for your next taco night. Use them to whip up a batch of cheesy chicken quesadillas or a jacked burrito. Wrap an eggy breakfast in the safe tangy folds of these tortillas, or bake them to get healthy chips for a taco salad. I like making large tortillas, but you can make them as big or small as you like. If you like them on the small side, they’d make a great foundation for tostadas.
HAVE YOU MADE TORTILLAS BEFORE?
I’m curious. Have you ever tried your hand at making your own tortillas before? If so, have you ever tried making them with kefir? If making tortillas from scratch is a whole new world for you to explore, I hope you tag me in a picture on Instagram when you make them! Also, please let me know your favourite way to use tortillas in the comments below. Did I miss anything?
OTHER POSTS YOU MIGHT BE INTERESTED IN
- Making Milk Kefir: a Beginner’s Guide
- Kefir Ranch Dip for Crudité Platters
- Kefir Pancakes for Breakfast
SHOP THIS POST
CAST IRON KEFIR TORTILLAS RECIPE
Makes 8 large tortillas
2 cups all purpose flour, plus extra for dusting
3 tbsp avocado oil
1/2 cup water
1/4 cup milk kefir
pinch of salt
CAST IRON KEFIR TORTILLAS INSTRUCTIONS
- Work all of the ingredients together in a large mixing bowl using a dough scraper or pastry cutter.
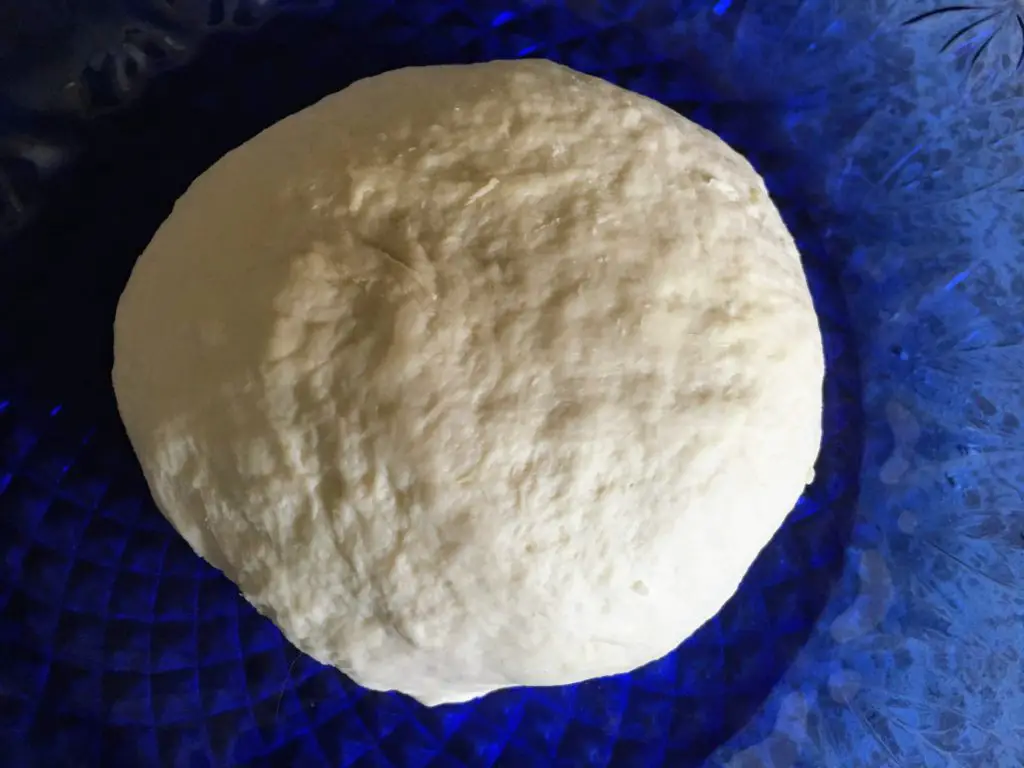
- Once everything is combined, knead the dough until a smooth dough has formed.
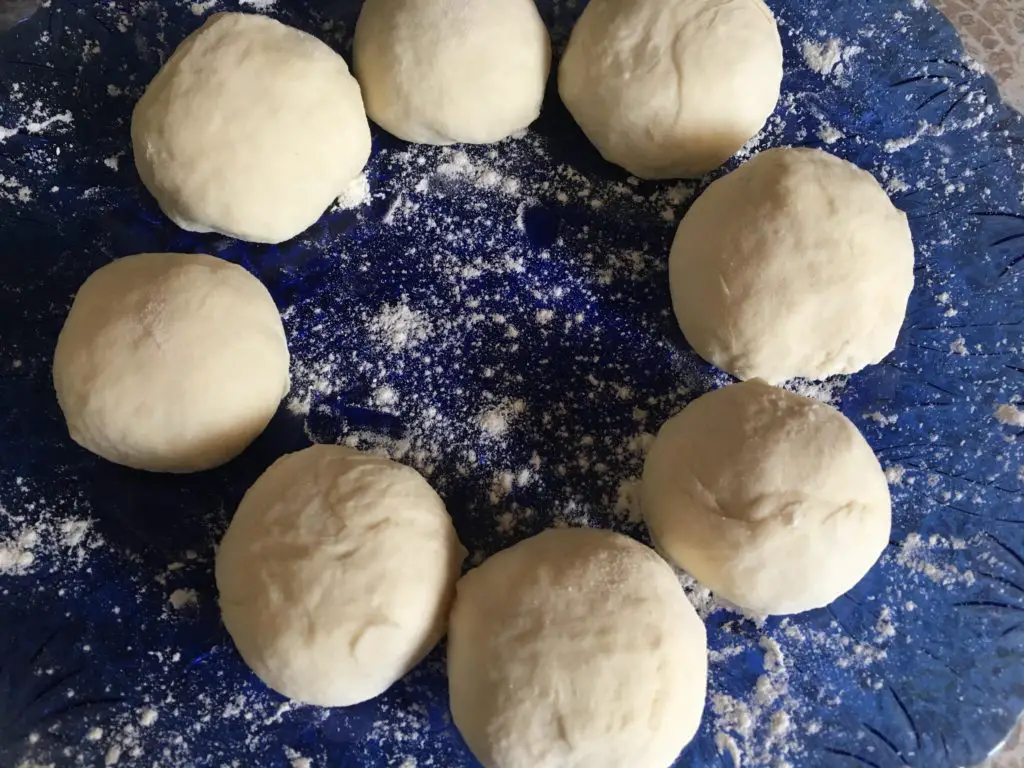
- Divide the dough into 8 even pieces and roll into balls.
- Cover the dough and allow to rest for 30 minutes.
- On a floured surface, roll out each dough ball to the desired size (or better yet, use a tortilla press if you have one!).
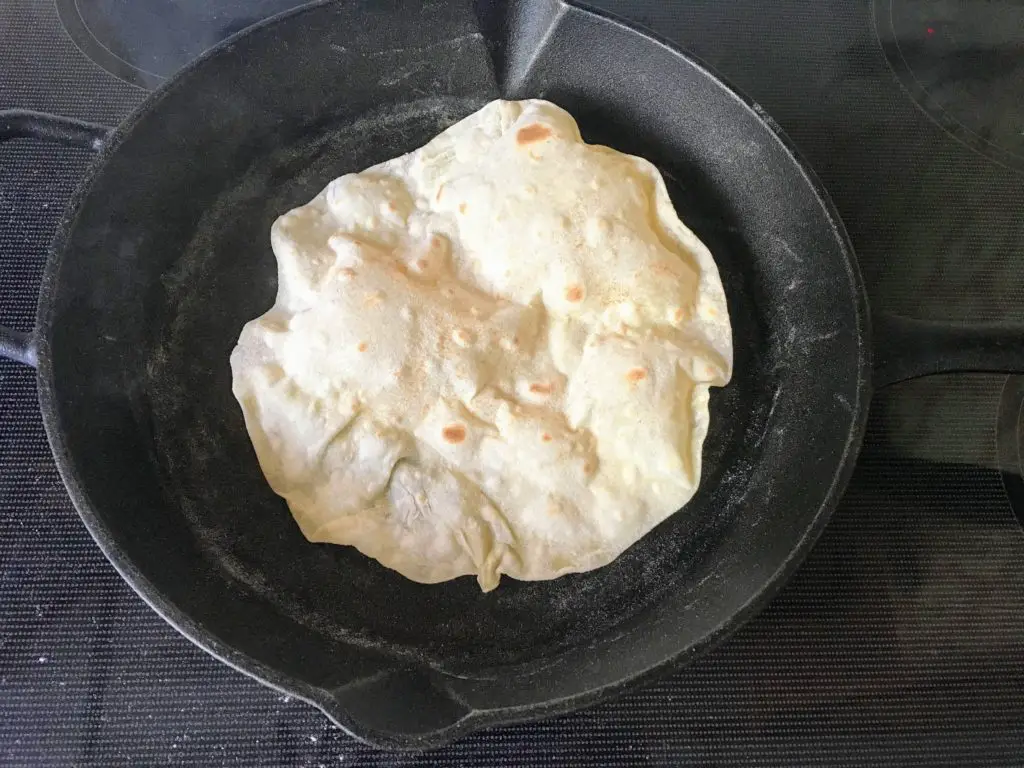
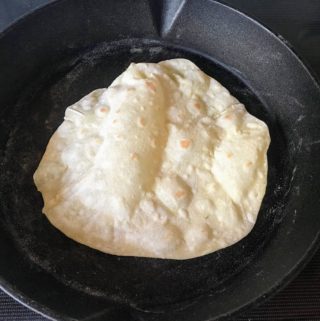
- Heat a dry cast iron skillet over medium heat. Once it’s hot, add the first tortilla.
- Flip the tortilla once it’s bubbled up, and remove from the pan after it puffs up, or until you’re satisfied.
- Repeat.
PRINTABLE KEFIR TORTILLAS RECIPE CARD
Cast Iron Skillet Kefir Tortillas
Equipment
- Cast Iron Skillet
Ingredients
- 2 cups all purpose flour plus extra for dusting
- 3 tbsp avocado oil
- 1/2 cup water
- 1/4 cup milk kefir
- pinch of salt
Instructions
- Work all of the ingredients together in a large mixing bowl using a dough scraper or pastry cutter.
- Once everything is combined, knead the dough until a smooth dough has formed.
- Divide the dough into 8 even pieces and roll into balls.
- Cover the dough and allow to rest for 30 minutes.
- On a floured surface, roll out each dough ball to the desired size.
- Heat a dry cast iron skillet over medium heat. Once it’s hot, add the first tortilla.
- Flip the tortilla once it’s bubbled up, and remove from the pan after it puffs up, or until you’re satisfied.
- Repeat.
PIN IT FOR LATER
Love and gratitude,


These look delicious. I have never made tortillas before but I can imagine they are super delicious!
Elise, it’s an extra step, but they’re well worth the added effort! Thanks for dropping by the Kitchen 🙂
Sylvia, your post has inspired me to try my hand at homemade tortillas! Thanks for the tutorial!
Suzy, it’s so much fun making them, and it just makes dinner that much more special. Thanks for dropping by the Kitchen!
I am excited to try these. I have been making my own tortillas this last year, and making kefir has been on my “to learn” list. I will definitely be coming back to these once I make the kefir. Thank you.
Lindsay, I’m so glad to hear it! Once you have your milk kefir going, you’ll want to use it in everything! I’m the only one who drinks it in my household, so I sneak it in wherever I can. I also have recipes for kefir pancakes and a kefir ranch dip and I’m sure there will be more to come! Thanks for dropping by the kitchen <3
Have you tried marketing these with an gluten-free flour? We are trying to cut down the amount of grains we are eating but love wraps. Thank you.
I have not, but I should start experimenting because I’m trying to do the same now!
This recipe is awesome!! I’ve tried so many tortilla recipes that didn’t work.
This one is foolproof! A keeper!
Thank you
Yay! I’m thrilled to hear you found your new go-to!
Has anyone tried fermenting this recipe overnight? I’m excited to try it!
You know, I’ve never thought of doing this before, but now I want to!
Why not use all kefir, rest overnight to predigest the flour then proceed as usual? That’s what I do with pancake batter except it is only the flour and kefir mixed at night.
That’s a much better idea.